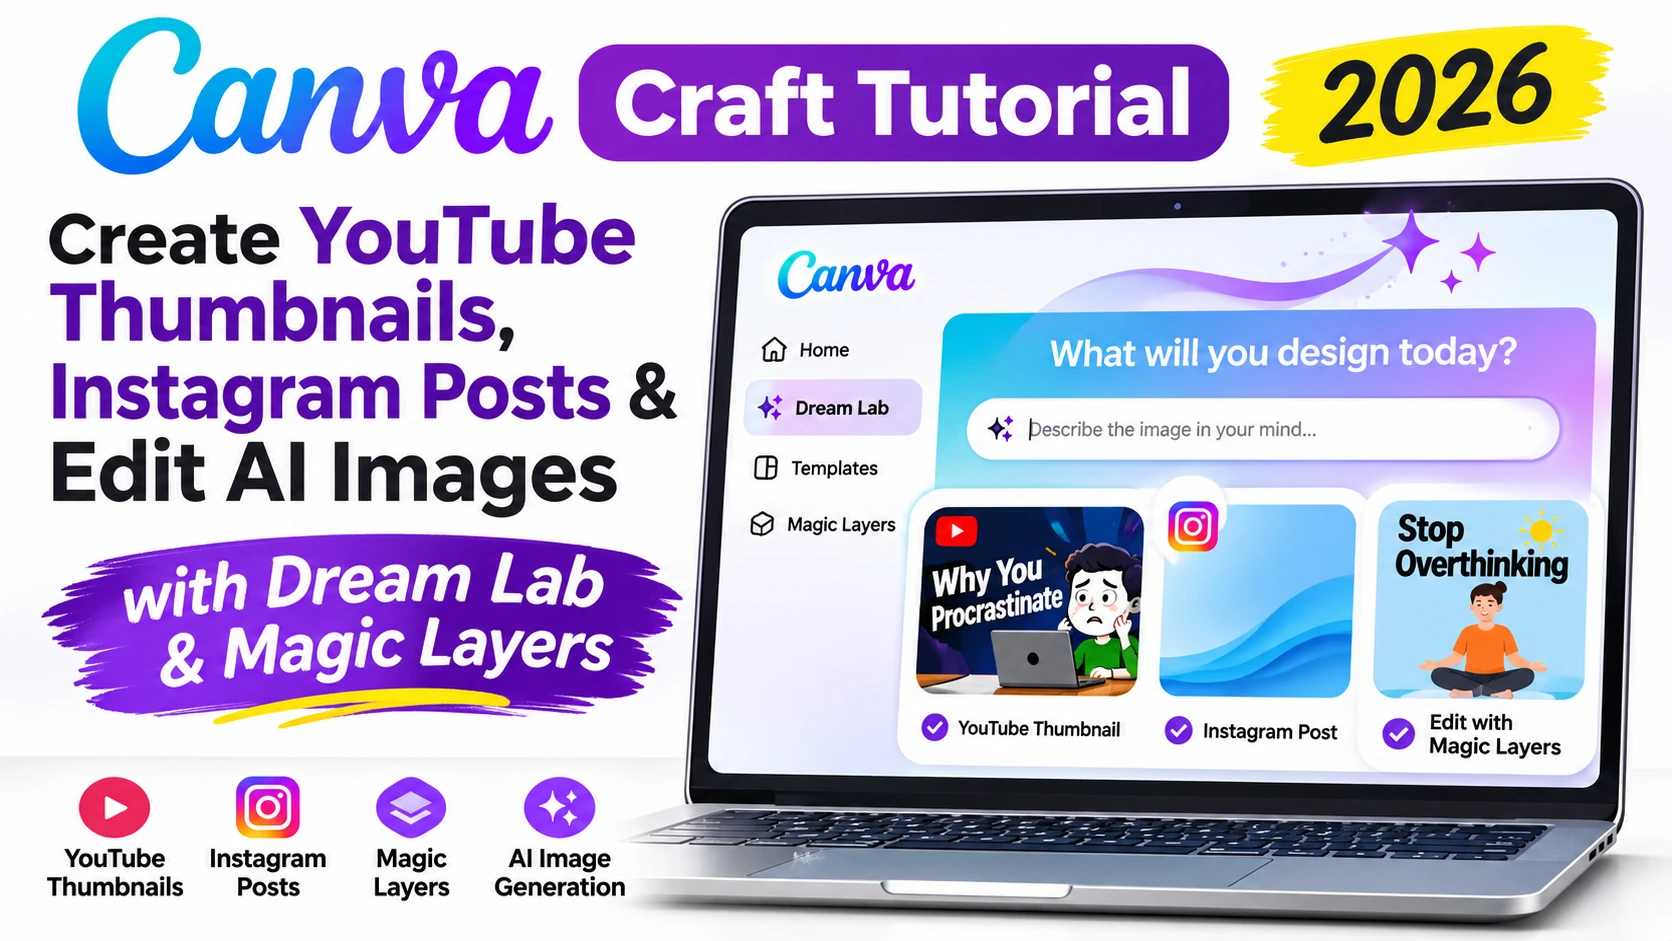
Creating professional graphics for YouTube, Instagram, and social media usually requires design skills, creativity, and time. But AI-powered design tools are making the process easier, especially for beginners who want attractive visuals without spending hours editing.
In this Canva Craft tutorial, we’ll explore three practical design workflows using Canva’s AI features: creating YouTube thumbnails with Dream Lab, designing Instagram posts, and editing AI-generated artwork using Magic Layers.
I recently tested these workflows while creating a thumbnail for my psychology YouTube channel, preparing an Instagram post, and experimenting with an illustrated poster.
In this hands-on Canva Craft tutorial, I’ll explain the steps I followed, share the actual prompts I used, and show how you can apply these techniques to your own content.
Whether you’re a YouTuber, freelancer, blogger, or social media creator, this guide will help you understand how Canva’s AI tools can support your design workflow.
What Is Canva Craft?
Canva Craft is the name used for the creative workflow explored in this tutorial. It brings together several Canva AI capabilities to help creators generate images and develop editable designs.
The demonstrations focus on two main tools:
Canva Dream Lab: An AI image-generation feature that allows users to create visual content from text prompts, experiment with styles, and use reference images.
Canva Magic Layers: An AI-powered editing capability designed to help users work with elements of supported images more flexibly.
These features can complement Canva’s traditional design editor, which provides tools for adding text, arranging graphics, and preparing content for different platforms.
In this Canva Craft tutorial, we’ll use them for three common creator tasks.
Part 1: How to Create YouTube Thumbnails Using Canva Dream Lab
YouTube thumbnails are among the most important visual elements of a video. A clear, compelling thumbnail helps viewers understand the topic before clicking.
For my first experiment, I wanted to create a cartoon-style thumbnail for a psychology video titled Why You Procrastinate.
Step 1: Open Canva Dream Lab
First, visit Canva and sign in to your account.
On the Canva dashboard shown in my test, the More option appeared in the left-side navigation.
Click More and select Dream Lab.

Image caption: Accessing Canva Dream Lab from the Canva dashboard.
The location of Dream Lab may change as Canva updates its interface, so use the available search or navigation options if it is not visible in the same position.
Step 2: Explore the AI Image Generator
Once Dream Lab opens, you’ll see a text prompt area where you can describe the image you want to generate.
You can also explore different image styles and visual settings.
In my experiment, the interface offered options for choosing an image style, adjusting the aspect ratio, and using a reference image.
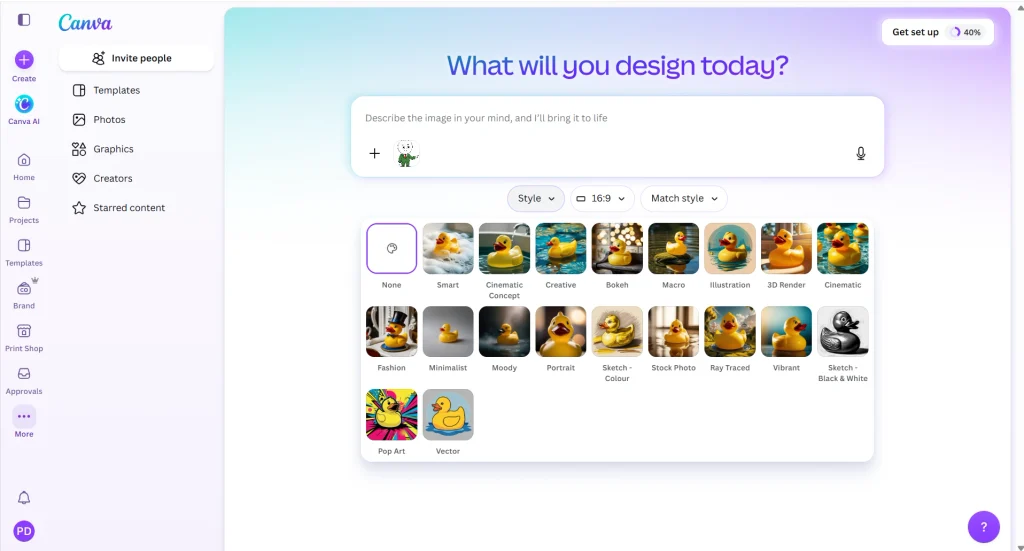
Image caption: Exploring AI image styles in Canva Dream Lab.
The prompt is the most important part of the process.
For example, entering “YouTube thumbnail about psychology” provides very little creative direction.
A more detailed prompt describing the background, subject, text, colors, and composition gives the AI a clearer objective.
Step 3: Select the Correct Aspect Ratio
Before generating a YouTube thumbnail, select the appropriate image dimensions.
For standard YouTube videos, use a 16:9 aspect ratio.
In Dream Lab, I opened the aspect-ratio dropdown and selected 16:9.
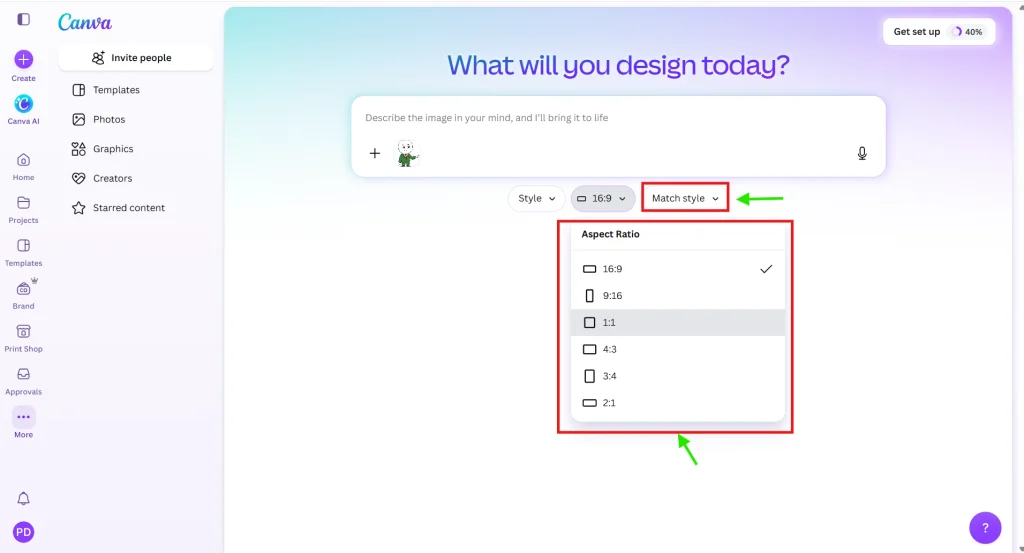
Image caption: Selecting the 16:9 landscape format for YouTube thumbnail generation.
Using the correct aspect ratio helps reduce unnecessary cropping when preparing the final thumbnail.
For Instagram feed posts, a 4:5 portrait format may be more appropriate, while vertical short-form content commonly uses 9:16.
Step 4: Upload a Reference Character
For my psychology video, I wanted to use a recurring cartoon character.
I added a character reference image to Dream Lab and kept the image style at its default setting.
Using a reference image can help guide the AI toward a particular visual appearance.
However, a reference image does not guarantee perfect character consistency across every generation.
For channels that use recurring characters, it’s important to inspect facial features, clothing, proportions, and overall style before choosing the final image.
Step 5: Write the YouTube Thumbnail Prompt
Here is the actual prompt I used in my experiment:
A YouTube thumbnail with the headline “Why You Procrastinate” in bold white letters, dark blue background, a person looking stressed on the right.
This prompt specifies four important details:
- Headline: Why You Procrastinate
- Text style: Bold white letters
- Background: Dark blue
- Character placement: On the right side
The intended composition leaves space for the headline while placing the emotional subject on the opposite side.
This is useful for psychology videos because the character’s expression can communicate the topic immediately.
Step 6: Review the Generated Thumbnails
After submitting the prompt, Dream Lab generated four image variations in my test.

Image caption: Four thumbnail variations generated using Canva Dream Lab.
I compared the results based on the character’s expression, headline readability, background contrast, and overall composition.
One important lesson from this Canva Craft tutorial is that AI-generated text should always be checked carefully.
Even when you include the exact headline in quotation marks, AI image generators may produce spelling mistakes, missing letters, or inconsistent typography.
For the best result, you can generate the visual background in Dream Lab and add the final headline using Canva’s regular text editor.
That gives you more control over spelling, font size, positioning, and readability.
Part 2: How to Create Instagram Posts Using Canva AI
The second demonstration in this Canva Craft tutorial focuses on designing an Instagram post.
Instagram graphics need a different layout from YouTube thumbnails.
While YouTube thumbnails are generally landscape images, portrait designs are often useful for Instagram feed content.
Step 1: Create a New Instagram Design
Return to the Canva homepage.
Use the search bar to find an Instagram post design, then open a blank design.
For my experiment, I worked with a portrait layout.

Image caption: Opening a portrait Instagram design in Canva.
A 4:5 portrait design can use dimensions such as 1080 × 1350 pixels.
This format provides useful vertical space for illustrations, headings, and supporting text.
Step 2: Generate a Background Using Dream Lab
Instead of designing the background manually, I used Dream Lab to create an abstract illustration.
Here is the prompt from my experiment:
Soft blue abstract background with gentle waves, calm and minimal, empty space on the left side.
This is a useful example of how a simple prompt can produce a background suitable for social media content.
The phrase “empty space on the left side” is particularly important.
It tells the AI to leave room for text that can be added later.
For educational posts, promotional graphics, and motivational quotes, empty space makes the final layout easier to organize.
Step 3: Select and Insert the Generated Background
After reviewing the generated options, I selected a blue abstract background.
I then placed it inside the Instagram design.
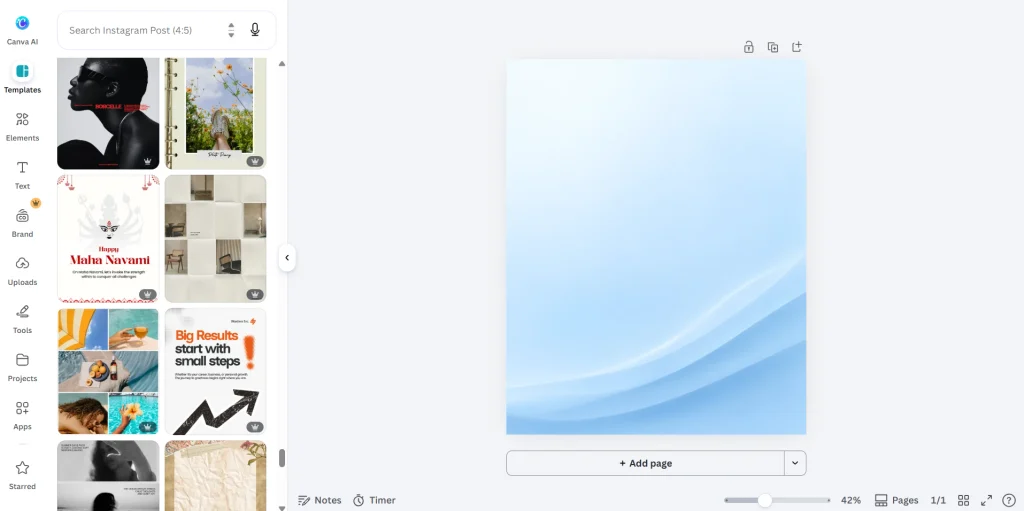
Image caption: A minimal blue background created for an Instagram post.
The screenshot demonstrates the background preparation stage rather than a fully completed Instagram post.
To finish a similar design, you can add a headline, supporting text, and branding using Canva’s regular editor.
For example, a motivational Instagram post might include:
Headline: Small Steps, Big Progress
Supporting text: Consistency matters more than perfection.
Branding: Your website or social media handle.
The advantage of generating a background separately is that you can keep the typography editable.
This is especially useful when you want to reuse the same design style for multiple posts.
Tips for Better Instagram Graphics
Keep your background simple, use readable text, maintain sufficient contrast, and avoid overcrowding the design.
If your Instagram account follows a consistent visual identity, use similar colors, typography, and spacing across your posts.
This makes your content easier for followers to recognize.
Part 3: How to Edit AI-Generated Images Using Canva Magic Layers
The third demonstration in this Canva Craft tutorial explores Magic Layers.
AI-generated images are often delivered as flat pictures.
That can make editing difficult because the text, background, illustrations, and decorative elements may be combined into one image.
Magic Layers is intended to provide more editing flexibility for supported images.
Step 1: Generate an Image for Editing
For my test, I created a simple illustrated poster using Dream Lab.
Here is the original prompt:
A flat-style poster with the title “Stop Overthinking” in bold letters, one simple illustration of a person sitting, a plain light-blue background, a small yellow sun shape, clear space around each element.
The prompt was deliberately simple.
It requested a clear title, one main character, a plain background, and a small decorative element.
This kind of composition is useful for testing image editing because the visual components are relatively distinct.
Step 2: Choose the Generated Poster
After generating the artwork, I selected a poster featuring a seated character, a light-blue background, and the headline Stop Overthinking.
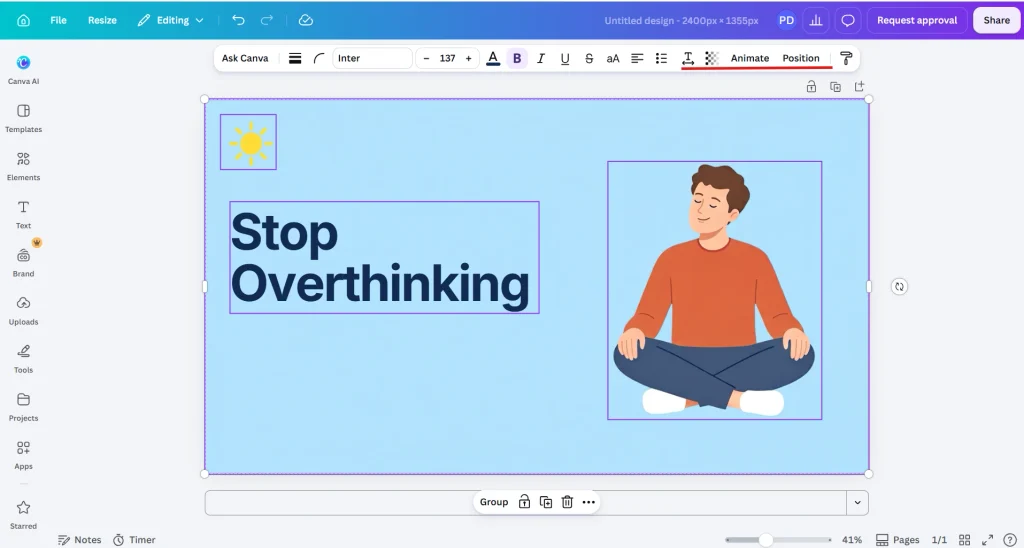
Image caption: The AI-generated poster selected for the Magic Layers experiment.
The illustration demonstrates how Dream Lab can generate simple educational artwork suitable for psychology and self-improvement content.
Step 3: Explore Magic Layers Editing
The next stage is to open the image in Canva and explore the available Magic Layers controls.
The intended workflow is to make supported image components easier to modify.
Depending on the image and available editing controls, possible tasks may include adjusting text, repositioning visual elements, and preparing artwork for animation.
However, not every generated image will separate perfectly into editable components.
The source screenshots show the poster selected for this experiment, but they do not provide a complete screen-by-screen demonstration of every Magic Layers editing action.
Therefore, the editing capabilities should be tested on your own image before relying on them for a production workflow.
Step 4: Prepare an Animated Design
After editing the visual elements, you can explore Canva’s available animation controls to create movement in your design.
For example, a psychology-themed poster might use subtle movement to introduce the character or headline.
Animations should support the message rather than distract viewers.
In my experiment, I also created an animated example based on this workflow.
[Embed the completed animated example here, if published]
The final animation can be shared as a separate demonstration for viewers interested in turning static AI artwork into short video content.
Canva Craft Tutorial: Three Practical Workflows Compared
| Workflow | Main tool | Recommended format | Example |
|---|---|---|---|
| YouTube thumbnail | Dream Lab | 16:9 | Why You Procrastinate |
| Instagram post | Dream Lab + Canva editor | 4:5 | Minimal blue background |
| Editable poster | Dream Lab + Magic Layers | Depends on project | Stop Overthinking |
These workflows demonstrate different ways creators can combine AI-generated images with Canva’s design tools.
Best Practices for Creating Better Designs with Canva AI
After experimenting with these features, several practical lessons stand out.
Write Detailed Prompts
A good image prompt should describe the subject, visual style, colors, composition, and intended use.
Instead of asking for “a beautiful thumbnail,” explain what should appear in the image and where important elements should be placed.
Use the Correct Aspect Ratio
Choose the aspect ratio before generating your image.
For example, 16:9 works well for standard YouTube thumbnails, while 4:5 is suitable for portrait Instagram feed posts.
Keep Text Editable Whenever Possible
AI-generated typography can contain errors.
For professional graphics, consider generating the illustration first and adding the final text in Canva’s editor.
Use Reference Images Carefully
Reference images can help guide the appearance of characters and visual styles.
However, always inspect the generated results for inconsistencies.
Leave Space for Headlines
When generating backgrounds, specify where the AI should leave empty space.
This makes it easier to add readable text later.
Review Every Image Before Publishing
Check spelling, character details, proportions, colors, and layout.
AI can speed up the creative process, but final quality control remains important.
Who Should Use These Canva AI Workflows?
The techniques covered in this Canva Craft tutorial may be useful for several types of creators.
YouTubers can experiment with thumbnail concepts and recurring character designs.
Instagram creators can generate backgrounds for educational, promotional, and motivational posts.
Bloggers can create supporting illustrations and featured-image concepts.
Freelancers can explore AI-assisted graphics for client projects.
Educational creators can prepare simple illustrations and visual explanations.
For beginners, these workflows offer an accessible way to experiment with visual content creation without starting every design from scratch.
Frequently Asked Questions
What is Canva Dream Lab?
Canva Dream Lab is an AI image-generation feature that creates visual content from text prompts. It also provides options for guiding image style and composition.
Can Canva Dream Lab create YouTube thumbnails?
Yes. In this Canva Craft tutorial, I used Dream Lab to generate four thumbnail variations for a psychology video titled Why You Procrastinate.
Can I use a reference image in Dream Lab?
The tested interface included a reference-image option. This can help guide visual appearance, although consistent results are not guaranteed.
What aspect ratio should I use for YouTube thumbnails?
Use 16:9 for standard YouTube thumbnails.
Can I create Instagram posts using Canva AI?
Yes. You can generate backgrounds or illustrations with Dream Lab and combine them with text and other design elements in Canva’s editor.
What is Canva Magic Layers?
Magic Layers is an AI-assisted editing capability intended to make supported image components more flexible to edit. The exact results depend on the image and available controls.
Is Canva AI suitable for professional content creation?
It can be useful for generating ideas, backgrounds, illustrations, and draft designs. However, professional results still require review and refinement.
Final Verdict: Is Canva AI Worth Trying for Content Creators?
This Canva Craft tutorial demonstrates how AI-powered design tools can simplify several common creative tasks.
In my tests, Dream Lab helped generate YouTube thumbnail variations, create a minimal Instagram background, and produce a simple illustrated poster.
The workflow also explored how Magic Layers could provide additional editing flexibility.
The biggest advantage is speed during the early design process. Instead of creating every illustration manually, creators can describe an idea and generate visual options.
However, AI-generated images are not always ready for publication. Text accuracy, character consistency, and layout quality still need attention.
For YouTubers, freelancers, bloggers, and social media creators, Canva’s AI tools are worth exploring as part of a broader design workflow.
Watch the full Canva Craft tutorial on the MiviCAI YouTube channel.